
From Coffs Harbour to Byron and beyond, many of our holiday parks are on the coast of NSW so there are plenty of opportunities to spot these incredible creatures.
We call on the experts at Ted’s Cameras to share their best whale watching photography tips.

1. Pack the right gear
Whales are tricky subjects because they bop in and out of the water for a second at a time. You need to be ready to capture them as soon as they appear - which is where the proper whale watching gear comes into play.
For whale watching photography, here’s what you’ll want in your kit:
A Mirrorless camera or DSLR camera
A good camera will help you to produce clear, sharp photos. Modern mirrorless and DSLR cameras are known for their incredible image quality, and have a high megapixel rating - which is really important when you’re shooting from a distance and want to produce clear, sharp photos.
Ted’s Top Picks:
- Olympus OM-D E-M5 Mark III
- Fujifilm X-T3
- Canon EOS 90D
- Nikon D7500
A telephoto lens with a range of 100mm-300mm
Whether you’re whale watching from the land or water, it’s hard to predict where whales will surface. By attaching a telephoto lens to your camera, you’ll be able to get closer to the whale without physically moving. If you want to experiment with framing, you can also easily adjust your focal length using the zoom function.
Ted’s Top Picks:
- Fuji XF 100-400mm OIS WR
- Nikon AF-S 80-400mm ED VR
- Canon EF 100-400mm L IS USM II
- Olympus 75-300mm Mark II
A polarising filter
In Australia, we often find ourselves shooting in harsh sunlight, so you definitely want to use a polarising filter. Think of this filter like a pair of polarising sunglasses - it helps to cut down on the glare coming off the water so less light gets into your lens. It can also boost colour saturation so you end up with the most vibrant photos.
Spare batteries and memory cards
Before setting off on your adventure, charge your battery and pick up a memory card with a fast processing speed. This will support your camera when you’re shooting on ‘burst.’ To be safe, it’s a good idea to bring extra accessories so you can keep shooting even if you run out of battery or memory space. You don’t want to risk missing the money shot!
A camera strap
Chances are, you’re going to be taking photos on a moving boat or walking around on land to find the best vantage point. Leave your tripod or monopod at home and bring a camera strap you can loop around your neck instead.
Top Tip: Heading on a whale watching boat tour? Most cameras and lenses aren’t waterproof, so you'll want to weather seal your equipment before you set sail. Consider packing a plastic covering to protect your camera from splashes and a microfibre cloth to wipe your lens clean from ocean spray.

2. Use the best camera settings for whale watching
If you’re familiar with your camera, try shooting in manual mode. That way, you’ll be able to adjust your settings to suit the scene in front of you.
To capture the best whale watching photos, let these settings guide you:
Choose a fast shutter speed (1/500 to 1/1000th of a second)
Whales are quicker than you think! A fast shutter speed allows you to ‘freeze’ the scene so you can snap the whale when it surfaces from the water. Fun fact: This moment is known as breaching.
Crank up the ISO
For the fast shutter speed to work, you’ll need to set your ISO a little higher than usual. Start at 400, and go up to 1000 if your images aren’t as sharp as you’d like.
Opt into ‘burst’ or ‘continuous shooting’ mode
With this mode, you can hold down the shutter and take multiple shots at the same time instead of pressing it over and over again. It’s similar to the burst function on your iPhone, if you have one.
Select a small aperture
This will keep the background and foreground of your images in focus. Try setting your aperture to f16. Remember, the smaller the number, the larger the depth of field.
Top Tip: If you’re not comfortable shooting in manual mode, that’s okay! You can use Shutter Priority mode, which sets the shutter speed and lets your camera look after the rest. To activate Shutter Priority mode, look for the letters ‘Tv’ on your mode dial.

3. Be ready to react
With whale watching photography, timing really is everything. They might be some of the largest mammals on the planet, but they can appear at any time, and with no warning. Scan the water for any activity, like surges or bubbles. Then, get into position and keep your camera at your eye so it’s ready to fire.
While you’re at it, hover your trigger finger over the shutter button of your camera, and press it whenever you sense some action. Don’t be shy! It’s better to end up with a bunch of boring photos of the water than miss the whales completely. You can also press the shutter button down halfway. This will activate your camera’s autofocus feature so it’s ready to snap in the water.
Top Tip: Learn how whales travel. Mothers and babies tend to ‘breach’ more often, and if there’s a female humpback in the area, you’ll see a lot more activity on the surface. And if you see a male whale creating bubbles, he’s sending a message to his rivals to stay away from his lady!
Above all, live in the moment!
If you’re prepared and follow these tips, you’ll walk away from your whale watching tour with some incredible photos to share with your family and friends.
For more tricks of the trade, check out Ted’s Cameras blog. There are tons of handy tips in there for your next holiday!
There is so much to see and do in and around the quaint town of Brunswick Heads and we have the low...

Craving more time outdoors? We've got the hit list for some spectacular hikes, off the beaten track....
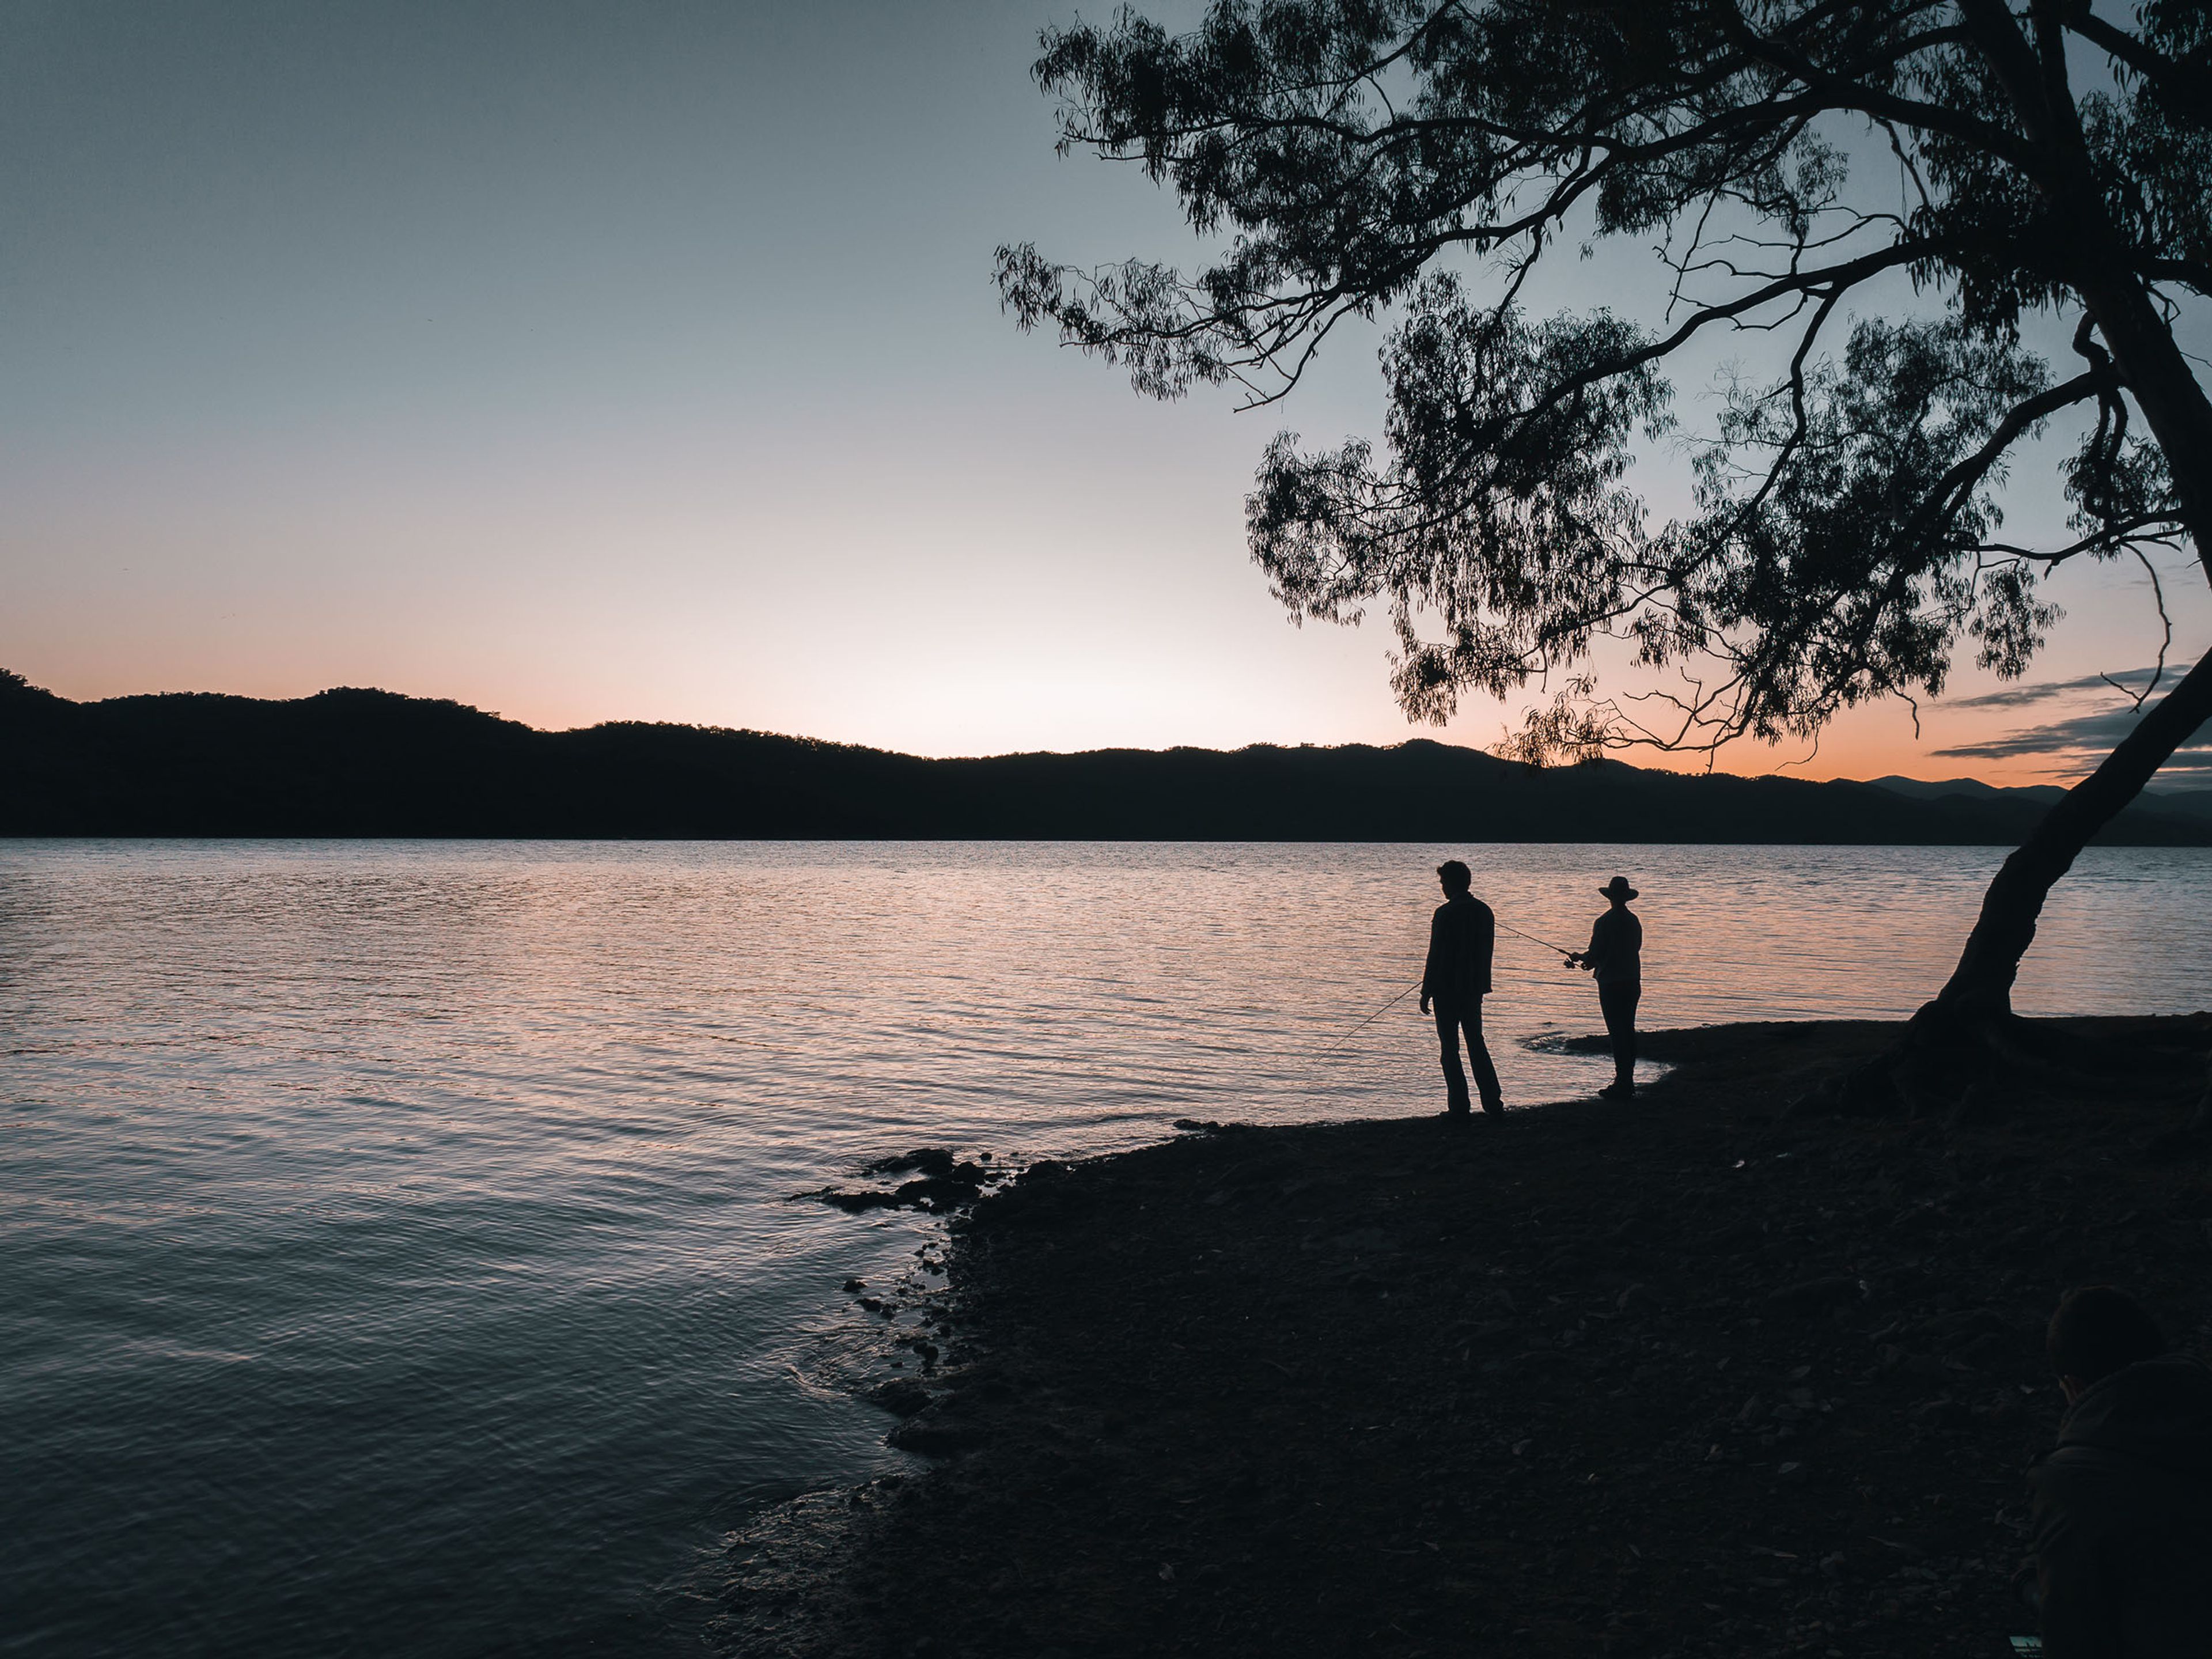
Looking for some of the best fishing spots that NSW has to offer? We have you covered with our Ambassador...
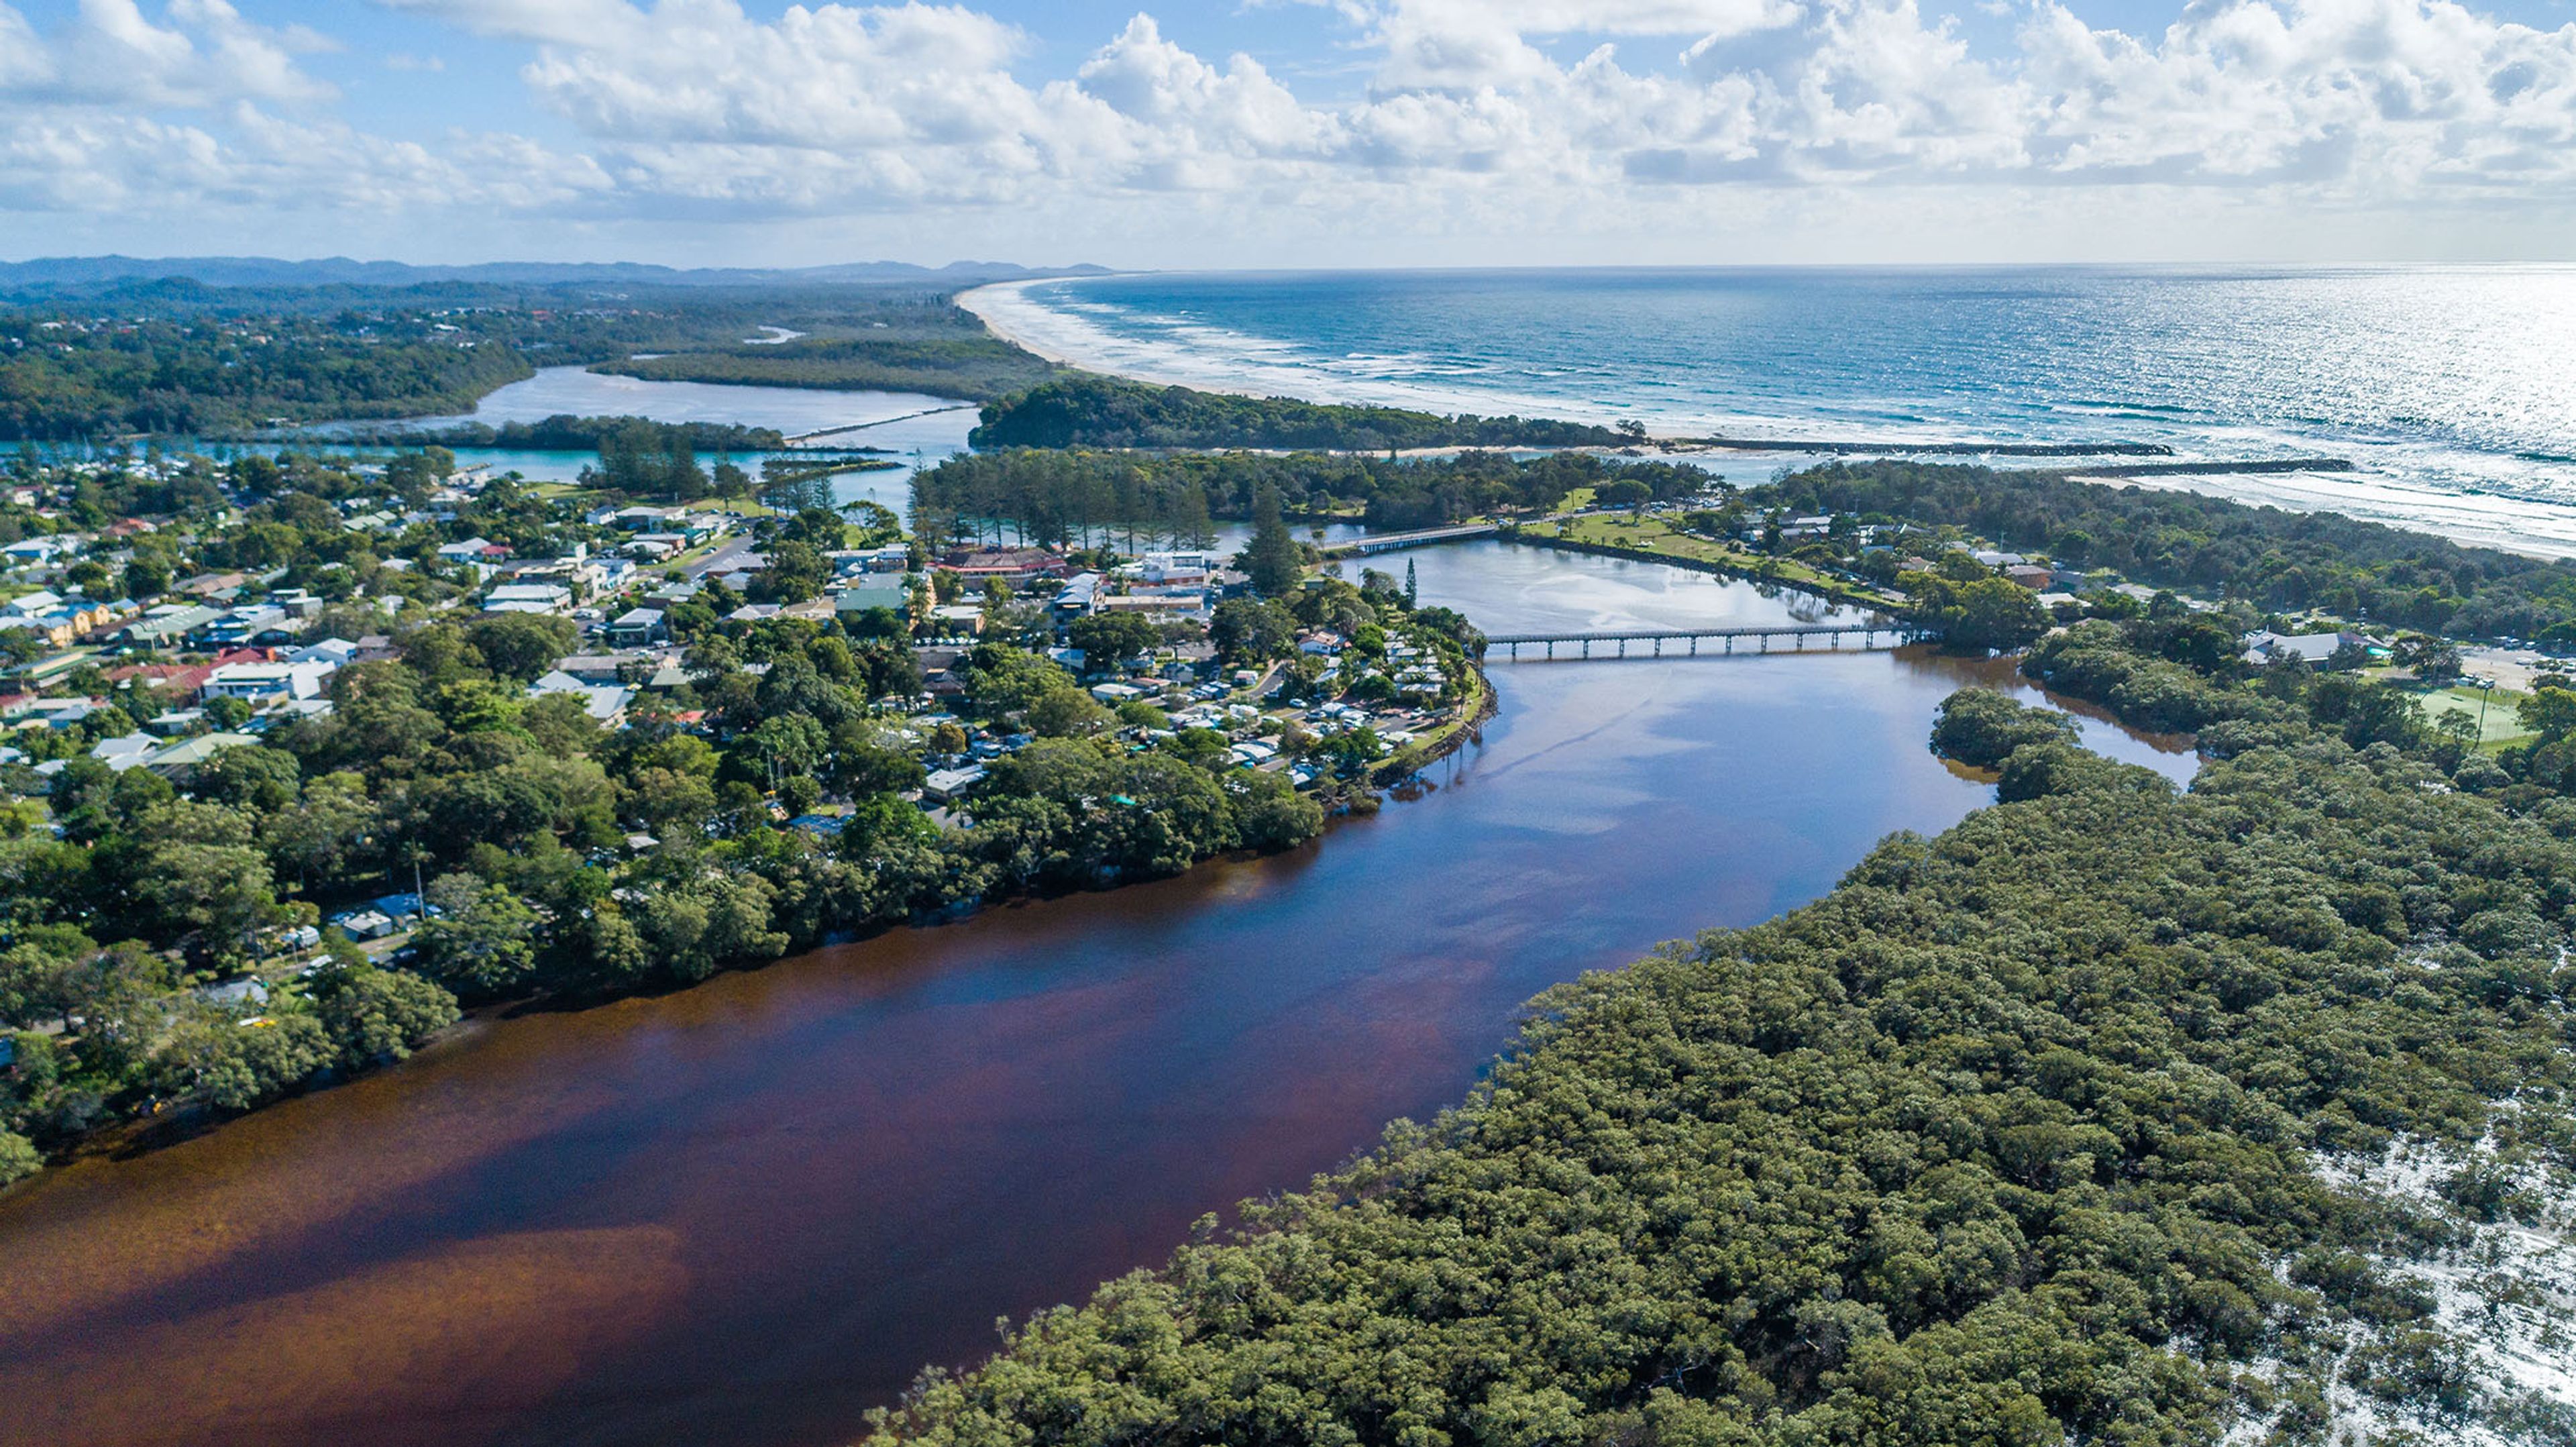
Brunswick Heads is a charming coastal town located in the northern river region of New South Wales, Australia....
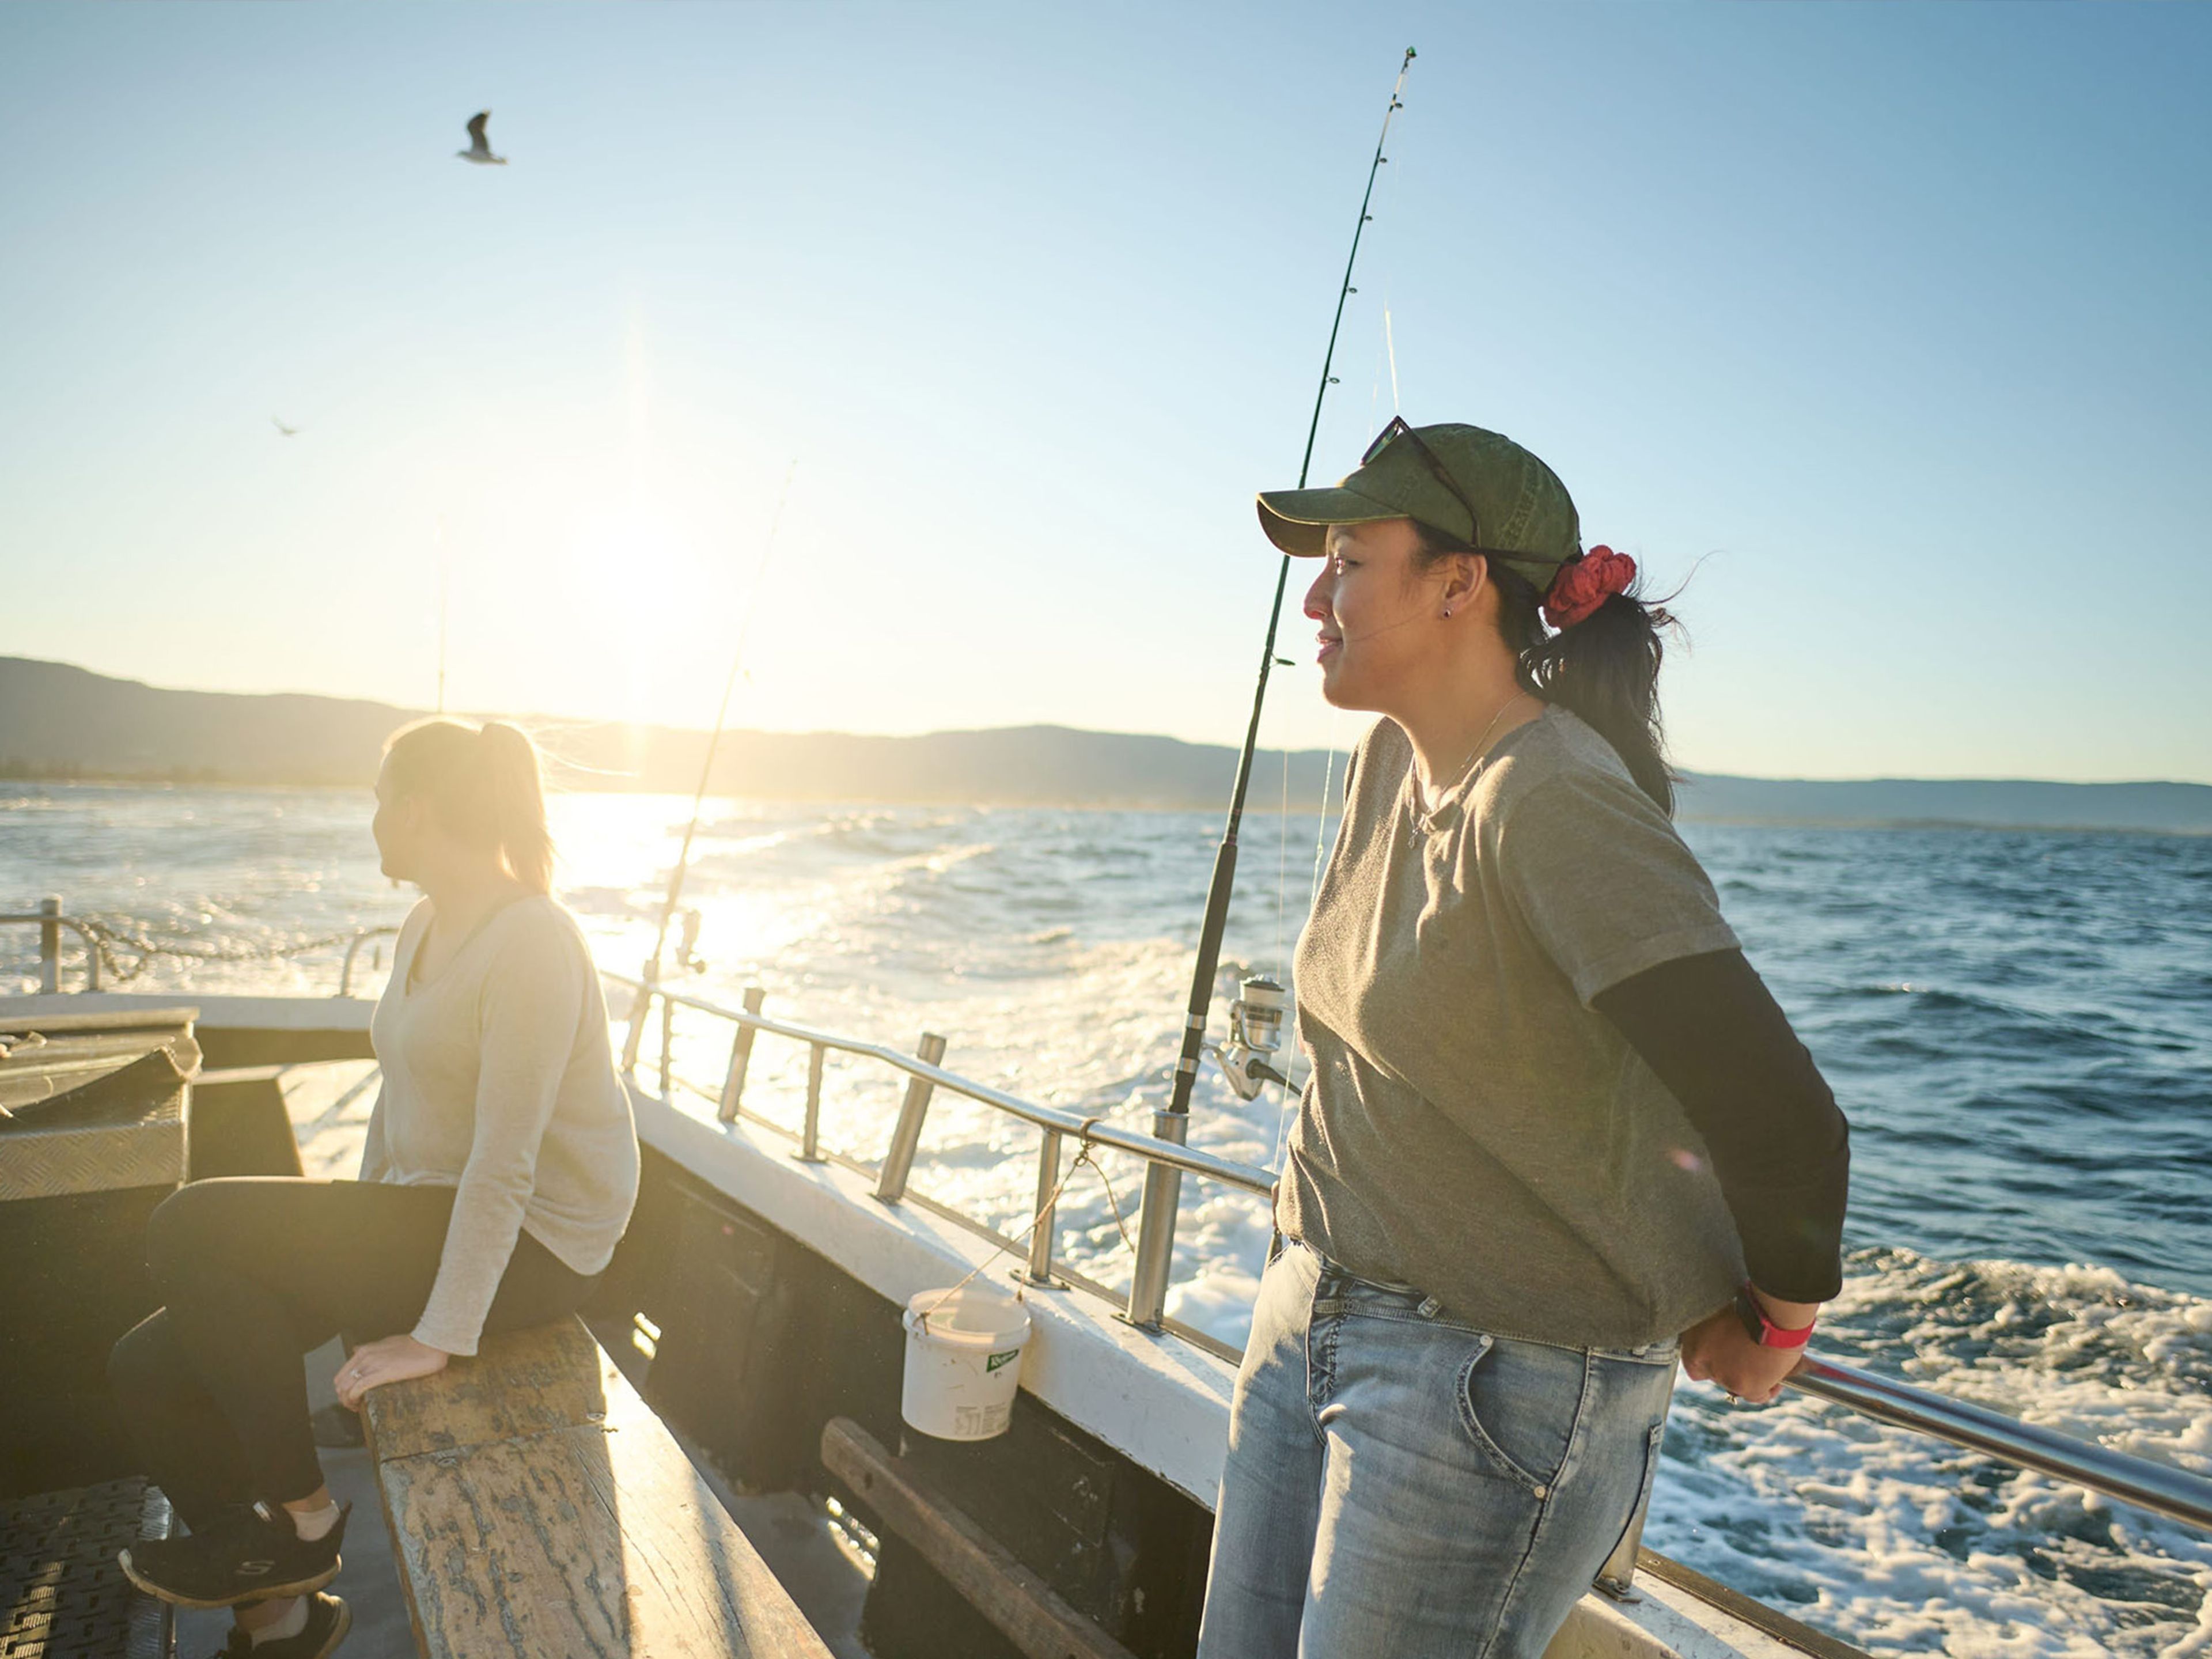
Fishing is a hugely popular pastime in New South Wales, as the coastline and inland dams are brimming...

Nestled between the Pacific Ocean and the breathtaking Great Dividing Range, the Central Coast of New...